Adding Tags
A tag is a keyword or term assigned to a piece of information (such as Subjects, Cabinets and Folders. This kind of metadata helps describe an item and allows it to be found again by searching.
In KRIS, Tagging is a feature that allows administrators to define custom categories which can be used to group classifications such as Subjects, Cabinets and Folders (i.e. file references).
With tags, administrators can easily reach a group of information in KRIS based on different categories.
Adding Tag to a Cabinet / Subject Properties
- Login as System / User Administrator
- Click on Module Switcher at the top bar and select KRIS Administrator module.

- Click on Manage Subject link under Manage Classification section.
- Expand the Subject tree view and click on a Subject.
- In the properties page, click on Tag field and select a tag from the drop down list.

- Click on the Save button to save the changes.
- Click on the OK button to close the Success Message window.

Adding Tag to a File Reference Properties
- Click on Module Switcher at the top bar and select KRIS Administrator module.
- Click on Manage File Reference link under Manage Classification section.
- Click on Classification Tab for e.g. Subject.
- Click on > to expand the classification and select a file reference.
- In the properties page, click on Tag field and select a tag from the drop down list.

- Click on the Save button to save the changes.
- Click on the OK button to close the Success Message window.

Adding Tag to Multiple Subjects / Cabinets / File References
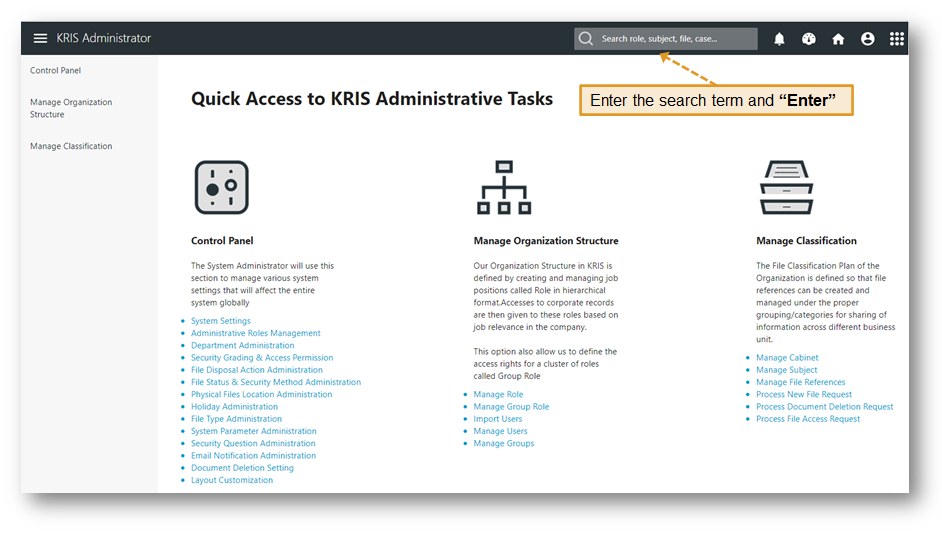
- Input the search term in the Search Box and hit “Enter“.

- The system will do an universal search across the system and display all the items that match the search term. In the Search Result – Subject / Cabinet / File Reference section, select a few items that you want to apply tags on.

- Click on the dropdown icon beside Checkbox header and select Apply Tags option.

- Click on the text field and select available tag(s) from the drop down list. You can apply more than one tag on the selected items.

- Click on Save Changes button.

