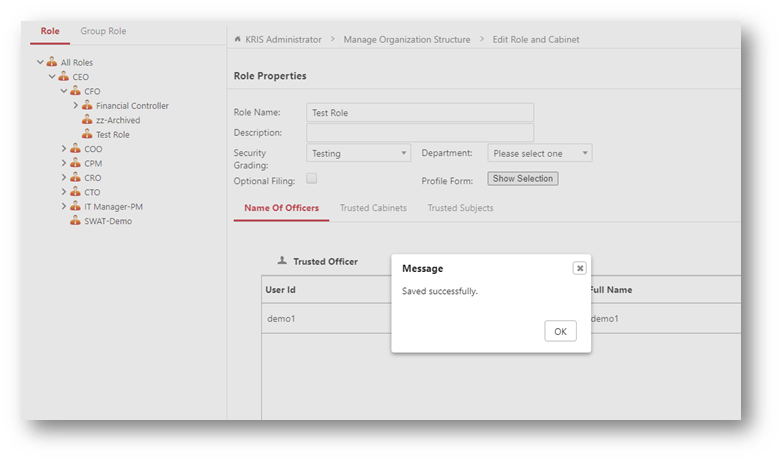
Creating a New Role and Its Associated Cabinet
- Login as System/User Administrator
- Click on Module Switcher at the top bar and select KRIS Administrator module.

- Click on Manage Role link under Manage Organization Structure section.
- Expand the All Roles tree view.
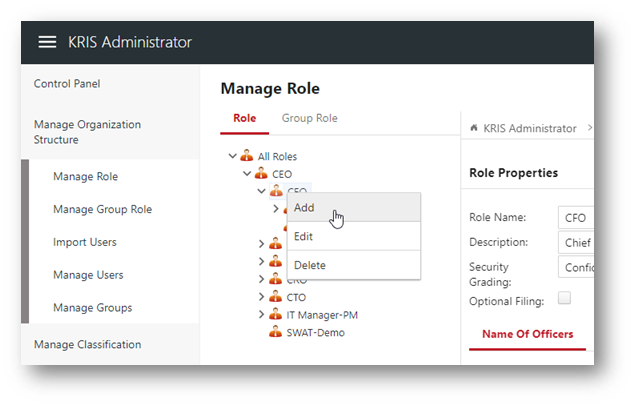
- Right click on the role that this new role reporting to and click on Add option.
- Fill up the fields in the Role Properties page.
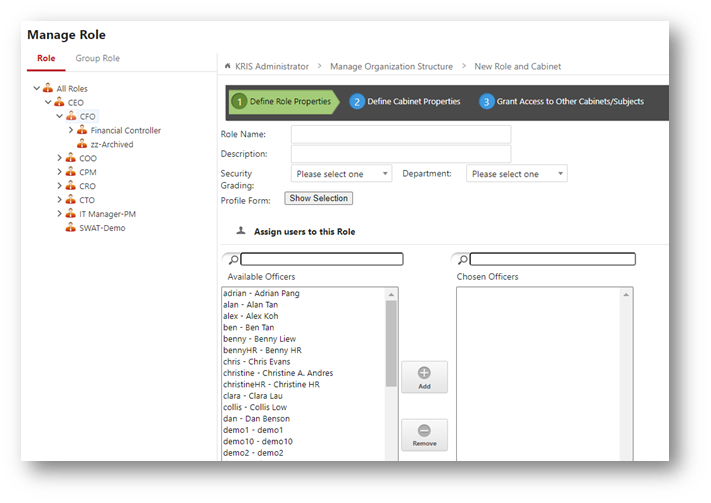
- Role Name – The name of the Role. It has to be unique in this section.
- Description – Description of the Role.
- Security Grading – The Security Grading of the Role. It defines the security clearance the role is given to access the information in the organisation.
- Department – The department that the Role belongs to.
- Profile Form – Customized filing forms available to the users holding this role. This is applicable to the organisation define various Profile Form for different type of records with different metadata
- Under the Assign users to this Role section, select the user(s) from Available Officers list and click Add button
- Click on the Next Step button at the bottom of the page.
- All the mandatory fields in Cabinet Properties page are already auto populated based on the Role Properties. Edit the information if necessary.
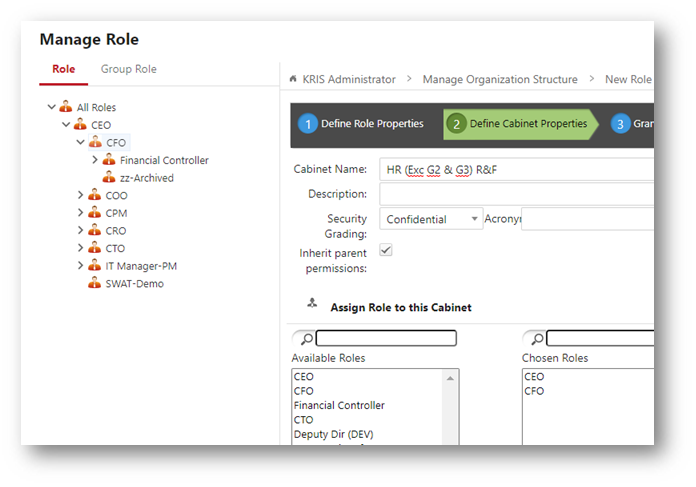
- Cabinet Name – The name of the Cabinet. (Note the Name has to be unique in the organisation)
- Description – Description of the Cabinet.
- Security Grading – The Security Grading of the Cabinet. It defines the security clearance required to access the records in the cabinet.
- Inherit Parent Permission – Allows the access list to be inherited from the Parent’s Cabinet. Default settings as configured in the System Settings under Control Panel
- Assign Role to this Cabinet – The list of Role with access to this cabinet.
- Click on the Next Step button at the bottom of the page.
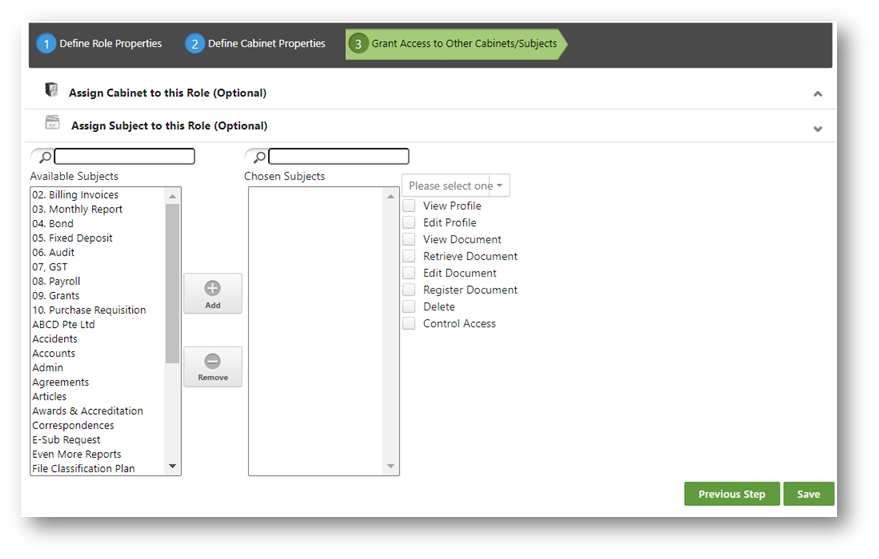
- Add any Subject that you want this role to be able to access. This is an optional step.
- Click on the Save button.
- Click on the OK button to close Success Message window.
