Advanced Email Filing – Mapping an Outlook Folder to a KRIS File Reference
In Smart Mail Organiser (SMO), a more advanced method of filing is by mapping your Outlook folder to a KRIS file reference. After the mapping is done, emails subsequently dragged to this mapped folder will be filed into KRIS automatically.
This is especially useful if you organise your emails into Outlook folders based on a topic/matter, and emails within the folder are always saved to a specific KRIS file reference (folder). Some common use-cases are:
| Account managers | Organises their emails by customers, and files them to a KRIS folder about that customer. |
| Project managers | Organises their emails by projects, and files them to a KRIS folder about that project. |
Add a new folder mapping
- Navigate to the KRIS tab on your Outlook toolbar, and click Map Folder.

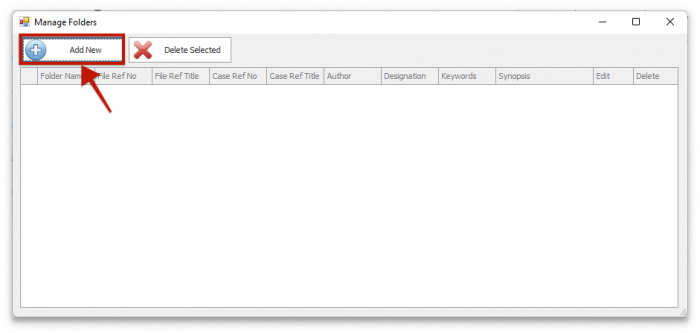
- In Manage Folder window, click Add New.
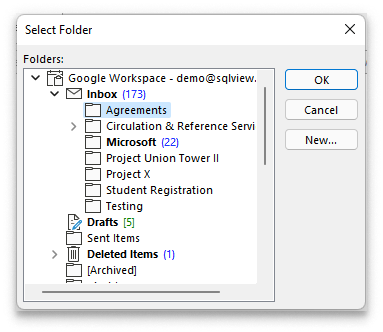
- Choose an Outlook folder that you want to map, then click OK.
- On Profile Details pop-up, select a corresponding KRIS file reference using […].
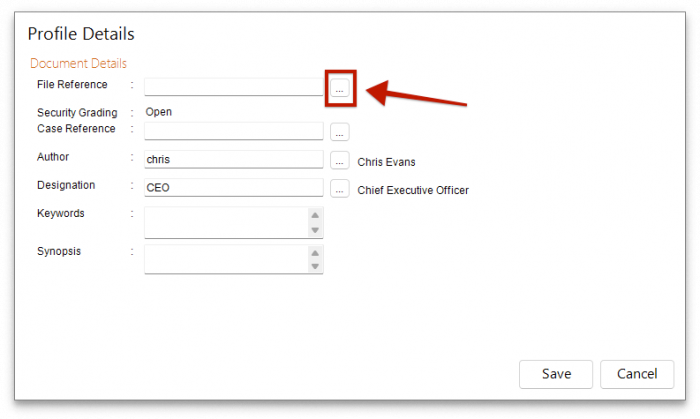
- Fill up other necessary metadata.
- Click Save to save your folder mapping. Your newly added folder mapping appears in the Manage Folders window.

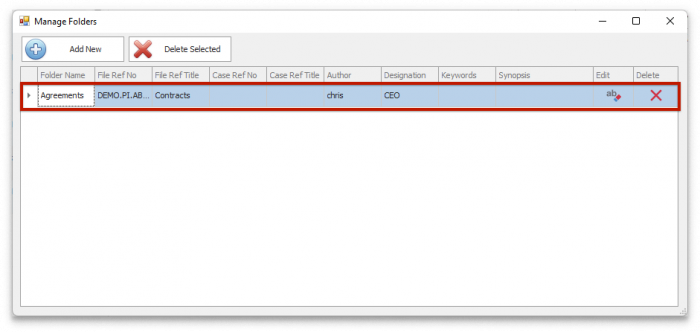
- Now, simply drag an email into the Outlook folder defined in step 3, your email will be automatically filed into the KRIS file reference defined in step 4.

Edit a folder mapping
- Navigate to the KRIS tab on your Outlook toolbar, and click Map Folder.

- In Manage Folder window, click on the Edit icon on the folder mapping that you would like to change.

- On Profile Details pop-up, edit the corresponding KRIS file reference using […] or other necessary metadata.
- Click Save to save your changes.
Delete a folder mapping
- Navigate to the KRIS tab on your Outlook toolbar, and click Map Folder.

- In Manage Folder window, click on the Delete icon on the folder mapping that you would like to change.
- Alternatively, to delete in batches, you may use CTRL on your keyboard to highlight multiple rows, then click Delete Selected.

- Alternatively, to delete in batches, you may use CTRL on your keyboard to highlight multiple rows, then click Delete Selected.
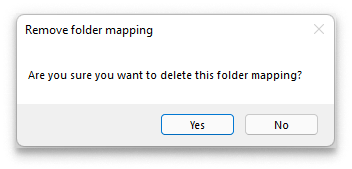
- On the deletion confirmation prompt, click Yes.
