Cancelling a File Reservation
You can only cancel the reservation if it is still at “In Queue” status found in the My Physical Files page – My Reserved Files table.
Once the reservation status has changed from “In Queue” to “Ready”, you cannot cancel this reservation and you will need to contact the Administrator to cancel this reservation on your behalf.
To cancel the File Reservation,
- Click on Record Manager.
- Click on My Physical Files.
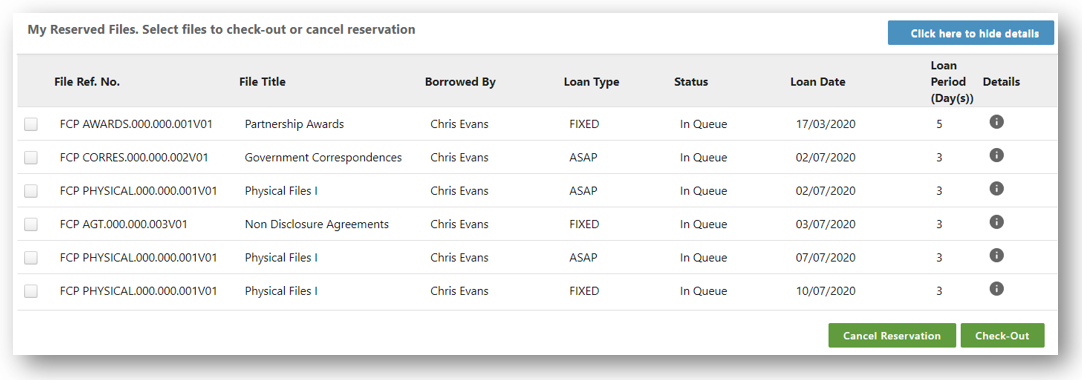
- Scroll down to My Reserved Files section.
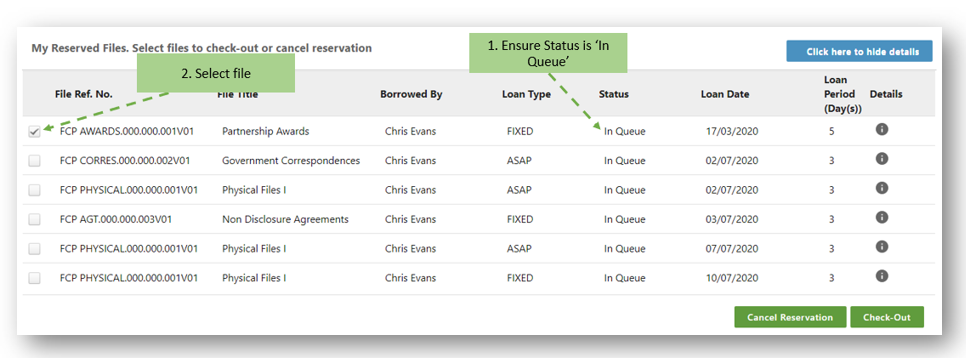
- Select the file reservation that you want to cancel and make sure that the status is “In Queue”.
- Click on
 to perform the cancel the reservation.
 - A confirmation message window is prompted.
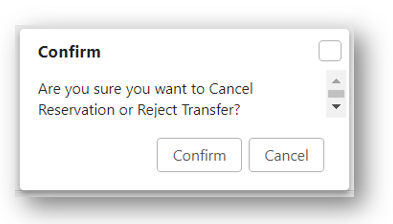
- Click Confirm to cancel the reservation.
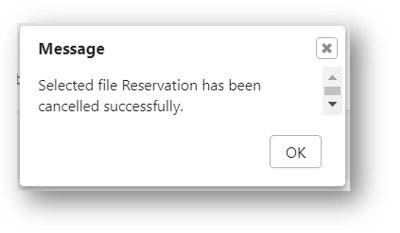
- A successful cancellation message is prompted. Click OK to close.